Micro coaxial cables – those incredibly thin, shielded cables found inside your smartphone, VR headset, medical devices, drones, and high-speed electronics – carry critical signals. But connecting them properly (termination) is essential. A bad termination can ruin signal quality, causing glitches, data errors, or complete failure. Let’s break down the main ways to terminate micro coax cables effectively.
Why Proper Termination Matters:
Think of the signal traveling down the coax like water flowing through a hose. Termination is like attaching the correct nozzle. If the hose isn’t connected properly or the nozzle doesn’t match, water sprays everywhere (signal reflects). Poor termination causes:
- Signal Reflection: Parts of the signal bounce back, distorting the original waveform.
- Signal Loss (Attenuation): Weakened signal strength.
- Impedance Mismatch: Disrupts the smooth flow of the signal (micro coax is typically 50Ω or 75Ω).
- Noise & Interference: Poor shielding connection lets external noise in.
Common Micro Coax Termination Methods:
- Connectorizing (Solder or Crimp):
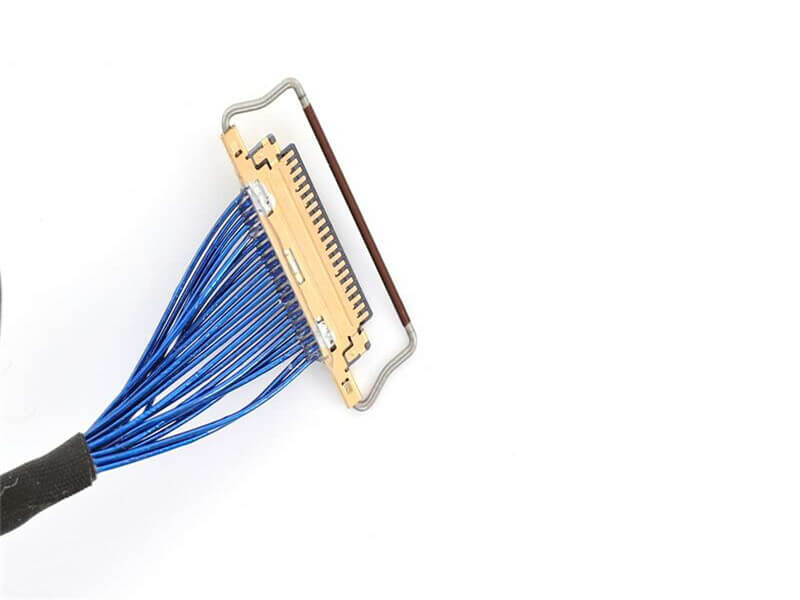
- What it is: Attaching a tiny, specialized connector (like MMCX, MCX, U.FL/Hirose, SMP, GPPO) directly onto the end of the cable.
- How it’s done:
- Solder: Careful soldering of the center conductor pin and the shield (braid or foil) to specific contacts within the connector shell. Requires high precision and temperature control.
- Crimp/Compression: Using a connector with contacts designed to be crimped onto the center conductor and compressed onto the outer shield/dielectric using specialized, calibrated tools. Often more consistent in volume manufacturing.
- Best for: Connecting cables to ports on PCBs (especially surface-mount ports), devices, antennas, or other cables via mating connectors. Offers reliable, re-mateable connections.
- Pros: Secure, professional, re-usable connection, good RF performance when done correctly.
- Cons: Requires specialized connectors and tools, significant skill/precision needed (especially for solder), most suitable for production or advanced hobbyists.
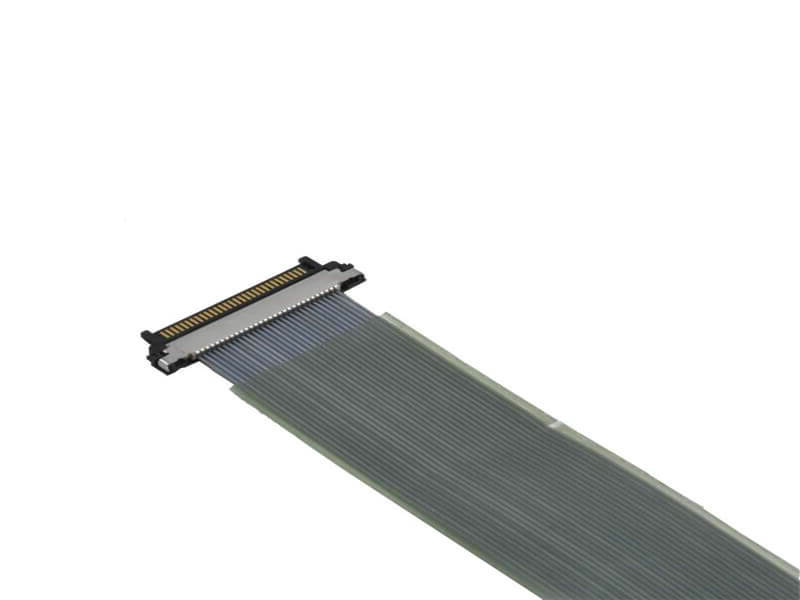
- PCB Board Mount Soldering:
- What it is: Solder the bare end of the micro coax directly to specific pads on a printed circuit board (PCB).
- How it’s done:
- The thin center conductor is carefully soldered to a dedicated signal pad.
- The shield (braid or foil) is soldered to a ground plane or dedicated ground pad surrounding the signal pad, maintaining the necessary impedance characteristics designed on the PCB.
- Best for: Permanent connections within a device, routing signals directly onto the main circuit board without an intermediate connector (saves space/cost). Very common in smartphones, tablets, and compact electronics.
- Pros: Minimal space requirement, potentially lower cost per connection (no connector), direct signal path.
- Cons: Permanent (not removable), requires high-precision soldering skills and a good PCB ground pad design, risk of overheating delicate conductors, challenging for DIY without practice.
- Field Termination Kits (Advanced):
- What it is: Specialized kits designed for terminating specific connector types (like MMCX or SMP) directly in the field or lab, without requiring factory-level tooling. They typically include precision crimp tools and connectors suitable for micro coax.
- How it’s done: Similar to connectorizing via crimp/compression, but using portable or benchtop tools designed for lower volumes or maintenance.
- Best for: Field service engineers, R&D labs, prototyping, or situations where replacing a pre-terminated cable isn’t feasible.
- Pros: Allows connectorization outside factory settings, often more robust than DIY soldering attempts.
- Cons: Can be expensive (for the tooling), requires specific kit training and practice, kit limitations may not cover all micro coax/connector sizes.
Key Factors for Success (Regardless of Method):
- Cable Prep: Stripping the tiny cable precisely without nicking the center conductor or shield is absolutely critical. Use micro-strippers or laser stripping designed for this scale.
- Shield Handling: Ensuring all shield layers (foil, braid) are cleanly captured and connected to ground is vital for noise immunity. Avoid shorts!
- Soldering Precision (if applicable): Tiny tip temperature-controlled iron, fine solder (0.020″ or smaller), flux, steady hands, and magnification are essential. Apply heat very briefly.
- Tooling: Using the correct connector and crimp/compression tool specified for that connector and cable size is non-negotiable for reliable crimps.
- Strain Relief: Implement strain relief (often part of the connector or added via glue/epoxy/adhesive-lined heatshrink) where the cable exits the termination to prevent flexing fatigue.
- Testing: Always test for continuity (no shorts between center and shield) and measure impedance if possible after termination.
Which Option is Right for You?
- Need a detachable connection? Use connectorizing.
- Building a compact, permanent device? Use PCB board mount soldering.
- Repairing gear in the field? Use a compatible field termination kit.
- Prototyping or low volume? Carefully evaluate connectorizing vs. PCB mount based on skill and equipment.
Terminating micro coaxial cables is demanding due to their size, but understanding these methods and focusing on meticulous preparation and execution is key to ensuring the high-speed signals they carry reach their destination clearly and reliably. Always use the right tools and techniques for the specific cable and connector type. When in doubt, consulting with the cable/connector manufacturer or seeking professional assembly services is advisable for critical applications.