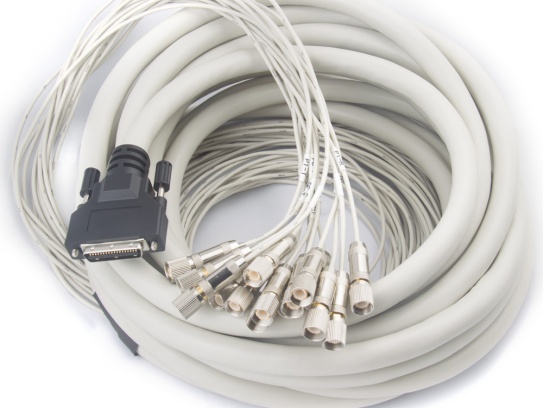
How to Properly Terminate a Micro Coaxial Cable
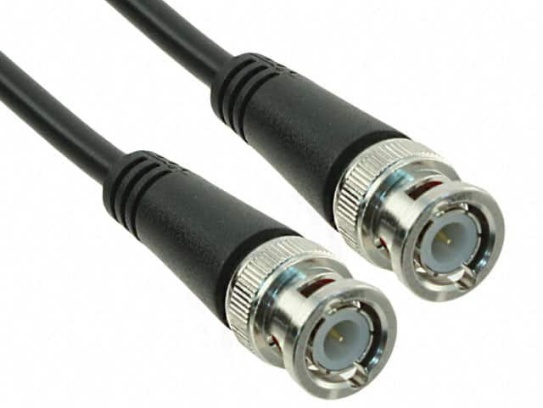
Micro coaxial cables are widely used in electronics, telecommunications, and high-frequency applications due to their compact size and reliable signal transmission. However, improperly terminating these cables can lead to signal loss, interference, or even device damage. In this guide, we’ll break down the process of terminating a micro coaxial cable correctly, ensuring optimal performance and longevity.
Why Proper Termination Matters
Micro coaxial cables (often called “micro coax”) are designed to carry high-frequency signals with minimal interference. A poor termination can:
- Introduce signal degradation.
- Cause impedance mismatches.
- Increase the risk of short circuits.
Whether you’re working on a DIY project or repairing equipment, following the right steps ensures reliability.
Tools You’ll Need
Before starting, gather these essentials:
- Wire strippers (specifically for coaxial cables).
- Soldering iron (15-30W recommended).
- High-quality solder (lead-free or rosin-core).
- Micro coaxial connector (e.g., SMA, MMCX, or U.FL types).
- Heat shrink tubing or electrical tape.
- Multimeter (for testing continuity).
- Safety gloves and goggles (to protect against solder splashes).
Step-by-Step Termination Process
1. Prepare the Cable
- Strip the outer jacket: Use a coaxial stripper to remove 1-2 cm of the cable’s outer insulation. Avoid nicking the inner conductor or shield.
- Expose the braided shield: Gently separate the metallic shielding (usually a woven mesh) from the inner dielectric insulator. Twist the shield into a single strand for easier handling.
- Strip the inner insulator: Carefully remove the dielectric layer to expose the center conductor. Trim it to the length specified by your connector’s datasheet.
Pro Tip: Use a magnifying glass for precision, as micro coax components are tiny.
2. Attach the Connector
- Slide the connector onto the cable: Ensure the center conductor aligns with the connector’s pin.
- Solder the center conductor: Apply a small amount of solder to secure the conductor to the connector’s pin. Avoid excess solder, which can cause impedance issues.
- Secure the shield: Solder the braided shield to the connector’s ground sleeve. Double-check for loose strands that could cause shorts.
Warning: Overheating the connector can damage its plastic components. Work quickly but carefully.
3. Insulate and Protect
- Apply heat shrink tubing: Slide a piece over the termination and use a heat gun to seal it. This protects against moisture and physical damage.
- Alternative: Wrap the joint with electrical tape for temporary fixes.
4. Test the Connection
- Check continuity: Use a multimeter to ensure there’s no short between the center conductor and shield.
- Test signal integrity: If possible, connect the cable to a device and verify signal quality with an oscilloscope or network analyzer.
Common Mistakes to Avoid
- Skipping the shield connection: Neglecting the braided shield leads to poor grounding and interference.
- Using dull tools: Blades that crush instead of cut can damage delicate components.
- Ignoring impedance matching: Ensure your connector matches the cable’s impedance (typically 50Ω or 75Ω).
When to Seek Professional Help
If you’re working with expensive equipment or lack confidence, consult a certified technician. A poorly terminated micro coax can void warranties or damage sensitive electronics.