Looking for reliable information on micro coax cable installation? You’ve come to the right place. Micro coaxial cables (often abbreviated as “micro coax”) are the lifeblood of modern high-frequency electronics. Found in everything from sophisticated radar systems and satellite communications to intricate medical devices and high-speed data links within servers, these tiny cables deliver critical signals. However, their small size and high-frequency nature make them significantly more sensitive to installation errors than bulkier cables.
Improper installation is a leading cause of micro coax failure – leading to signal degradation, data errors, intermittent connections, and costly downtime. Understanding the key micro coax cable installation considerations is crucial for ensuring optimal performance and longevity.
Here are the critical factors to master for successful micro coax cable installation:
1. Handle the Bend Radius with Extreme Care (The Golden Rule!)
- Why it Matters: Micro coax cables are incredibly sensitive to sharp bends. Exceeding the specified minimum bend radius is the single most common cause of damage. A tight kink can irreversibly crush the delicate dielectric material surrounding the center conductor, change the cable’s impedance (usually 50 or 75 ohms), and cause signal reflections and loss. It can also damage the fragile shield.
- What to Do: ALWAYS know and strictly adhere to the minimum bend radius specified by the cable manufacturer. This is often 5-10 times the cable’s outer diameter (O.D.), but check the datasheet! Gently form curves; avoid sharp 90-degree turns. Use cable guides or formers designed for small-diameter cables if necessary. Never step on or crush the cable.
2. Control Pulling & Routing Force (Don’t Yank!)
- Why it Matters: Micro coax cables, especially with solid center conductors or complex shields (like double or triple shielding), are easily stretched or damaged by excessive pulling force. This can break the center conductor internally, deform the dielectric, or compromise the shield connection.
- What to Do: Pull gently and smoothly. Avoid jerking the cable. Use the manufacturer’s recommended maximum pulling tension value (often specified in pounds or Newtons) – exceeding this can cause hidden internal damage. Support the cable during routing to prevent it from hanging under its own weight, which can cause stretching over time. Use appropriate lacing cord or cable ties loosely.
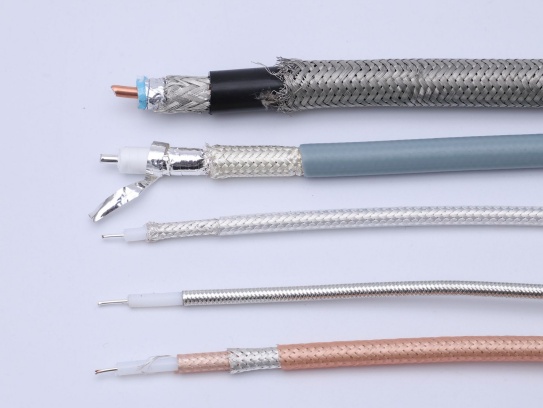
3. Shield Handling & Termination: Precision is Key
- Why it Matters: The shield (braid, foil, or combination) protects the signal from external interference (EMI/RFI) and contains the signal within the cable. Rough handling can tear or displace the shield. Improper termination (connecting the shield) leads to poor grounding, causing noise pickup or signal radiation.
- What to Do: When stripping the outer jacket, use extreme caution not to nick, cut, or unravel the shield braid. Specialized micro-coax stripping tools are highly recommended over generic blades. Ensure shields are terminated cleanly and securely to the connector body or ground point according to the connector manufacturer’s instructions. Maintain shield integrity all the way to the termination point; avoid “pigtailing”.
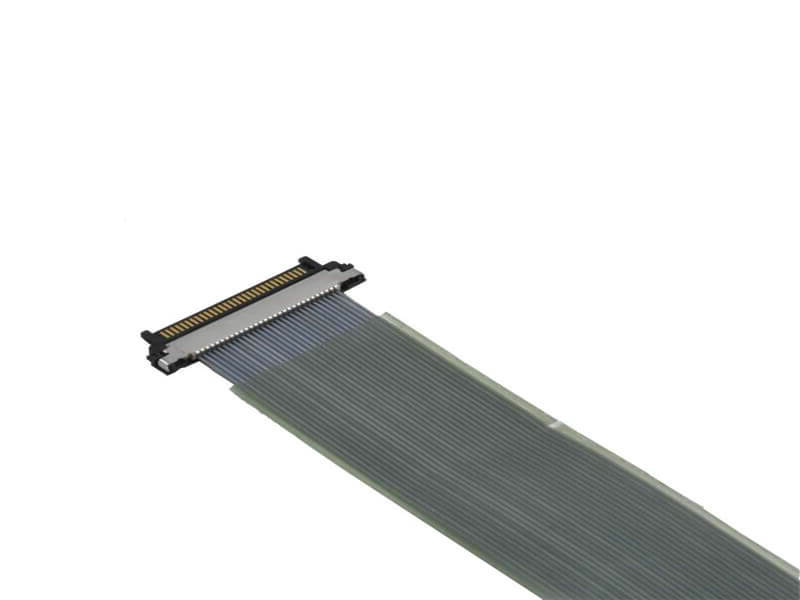
4. Connector Installation: Match, Clean, Secure
- Why it Matters: Micro coax connectors (e.g., MMCX, SMP, SMPM, GPPO, Hirose U.FL) are tiny and demand precision. Incorrect assembly, contamination, or poor soldering (if applicable) drastically increases insertion loss (signal loss at the joint) and causes reflections and unreliability.
- What to Do:
- Use Connectors Designed for YOUR Cable: Don’t assume compatibility. Match the connector specifically to the cable type and O.D.
- Prep Perfectly: Precise cable prep (strip lengths, shield trimming) is non-negotiable. Refer to the connector’s assembly instructions meticulously.
- Impeccable Cleanliness: Dust, oils, or solder flux residue inside the connector or on the mating surfaces degrade performance. Clean components and work area.
- Precision Crimping/Soldering: Use the correct tooling. For crimp connectors, use the exact manufacturer-recommended crimp tool and die set. For solder types, use a temperature-controlled iron with a fine tip, appropriate solder, and minimal heat application to avoid melting the dielectric. Low Temperatures are NOT better than specified temperatures! Use the recommended temperature.
- Inspect: Use magnification to inspect terminations for any stray braid strands, center conductor protrusion, or physical damage.
5. Avoid Crushing, Pinching, and Abrasion
- Why it Matters: Routing micro coax near heavy objects, through sharp panel edges, zip-tied too tightly in bundles, or rubbing against abrasive surfaces damages the delicate outer jacket and potentially the internal structure.
- What to Do: Protect the cable: Route away from pinch points, sharp edges, and high-vibration/movement areas. Use grommets or edge protectors where cables pass through panels or bulkheads. Bundle carefully: Don’t over-tighten cable ties; use snug, non-abrasive ties designed for small cables, or dedicated lacing products. Ensure bundles aren’t compressed under other components.
6. Testing is Mandatory (Don’t Skip It!)
- Why it Matters: Visual inspection isn’t enough. Even cables that look perfect can have hidden damage, poor terminations, or impedance mismatches that severely impact performance. Signal loss can be insidious.
- What to Do:
- Time Domain Reflectometry (TDR): The gold standard. A TDR sends a pulse down the cable and analyzes the reflections, pinpointing the location and nature of faults (opens, shorts, impedance mismatches, crushed sections, poor terminations). Perform TDR testing on every installed micro coax run where feasible.
- Vector Network Analyzer (VNA): Measures critical parameters like Insertion Loss (signal loss), Return Loss/VSWR (measure of signal reflections), and impedance match across the operating frequency band.
- Continuity Check: Basic check for shorts or opens. Essential but insufficient on its own.
Essential Tools for Success
Investing in the right tools makes a huge difference:
- Precision Stripping Tools: Designed for micro coax diameters/shield types. Avoid generic utility knives.
- Magnification: Good lighting and a magnifying lamp or microscope.
- Correct Crimp Tool & Dies: Matched to your connector series (critical!).
- Temperature-Controlled Soldering Station: With fine tips.
- Specialized Routing/Forming Aids: Cable guides, soft mandrels.
- Test Equipment: TDR, VNA (access to these is crucial).
Key Takeaway: Your Datasheet is Your Bible
Every point above comes back to one fundamental principle: Always, ALWAYS refer to and follow the installation guidelines and specifications provided by both your micro coaxial cable manufacturer and your connector manufacturer. Their datasheets contain the critical details on bend radius, pulling tension, stripping dimensions, and assembly procedures specific to your exact components. Ignoring this is the fastest route to failure.
Conclusion: Install with Precision, Ensure Reliability
Installing micro coax cable requires a shift in mindset compared to working with larger cables. The emphasis must be on gentleness, precision, cleanliness, and adherence to specifications. By meticulously following these critical installation considerations – controlling bends and pulls, handling the shield carefully, mastering connector terminations, protecting the cable path, and performing rigorous testing – you significantly reduce the risk of costly signal problems and failures. Taking the time to install micro coax correctly the first time ensures optimal performance, saves time and money on troubleshooting, and delivers the high-fidelity signal transmission these critical components are designed for.