
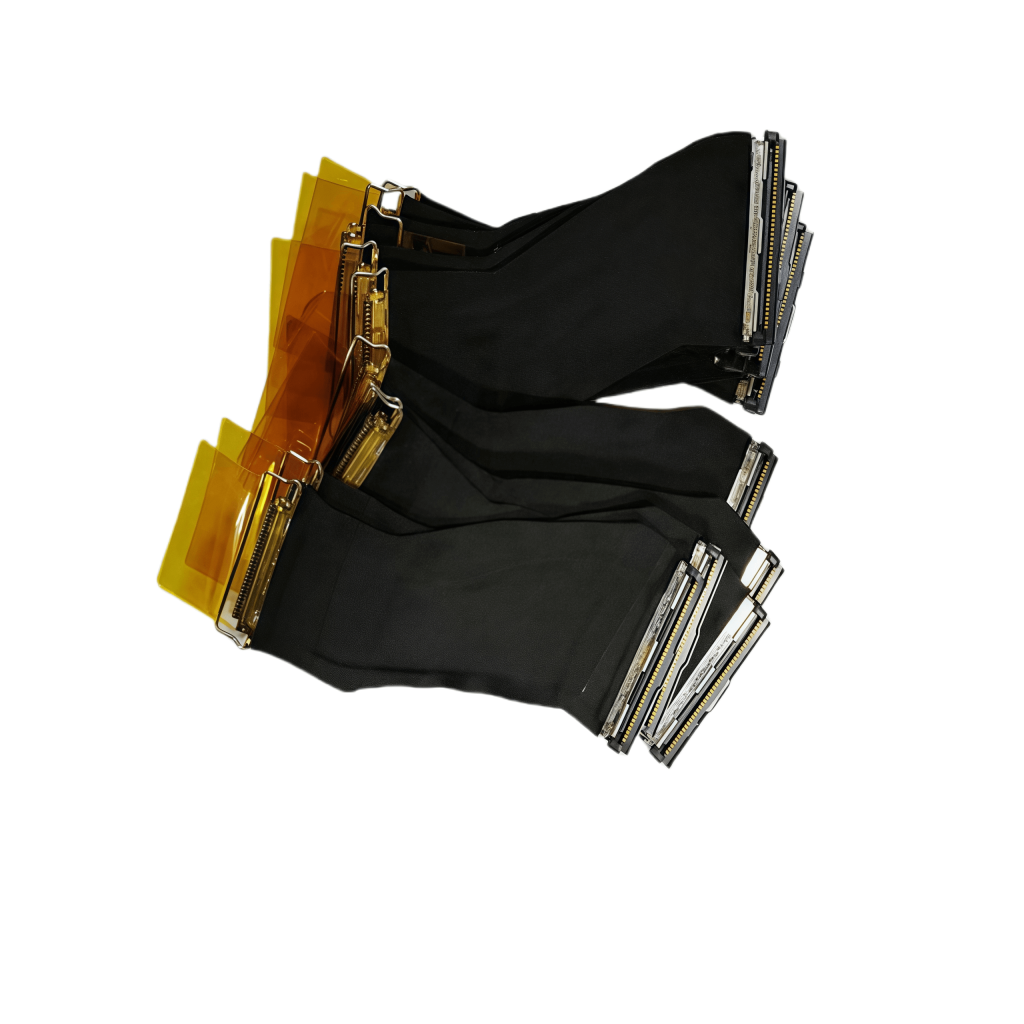
Micro Coaxial Cable factory-(FRS)
Crimping micro coaxial connectors (like MMCX, MCX, or SMP) is essential for reliable signals in devices such as Wi-Fi routers, drones, GPS units, and smartphones. Proper crimping ensures strong connections without signal loss. Follow these steps for success:
What You’ll Need:
Step 1: Prepare the Cable
Step 2: Prepare the Connector
Step 3: Crimp the Center Conductor
Step 4: Crimp the Outer Shield
Step 5: Final Assembly & Testing
Key Tips to Avoid Failure:
Always prioritize safety: Disconnect devices from power before crimping, and wear eye protection against wire fragments. With practice, you’ll master clean crimps for strong, low-loss connections!
Our factory offers high-quality products at competitive prices
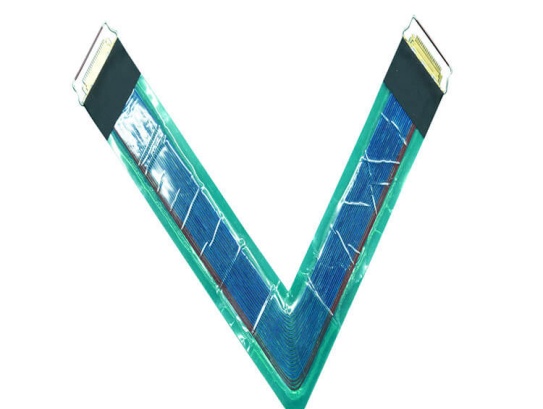
IntroductionThe High-Temperature Resistant Micro-Coaxial Cable is a cutting-edge connectivity solution engineered to deliver exceptional performance in extreme thermal environments. Combining precision engineering with advanced mate.
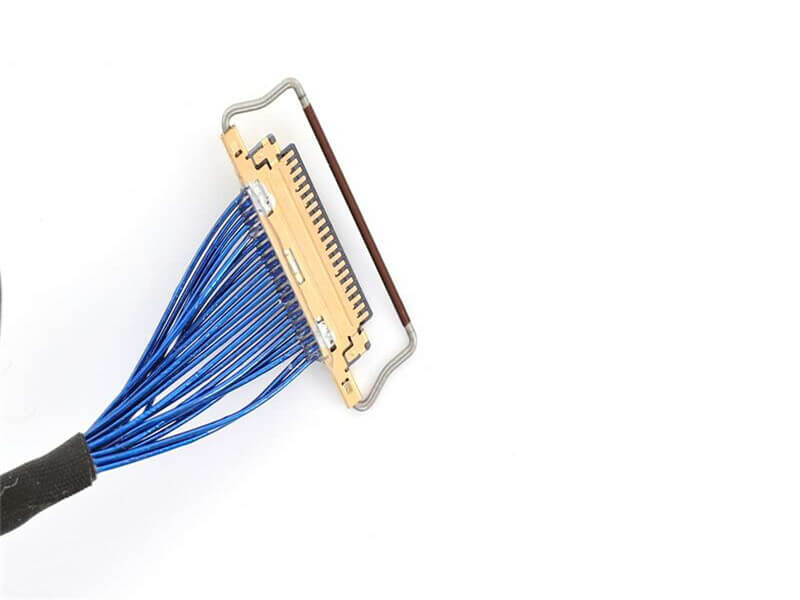
Overview of I-PEX Micro Coaxial Cable Connectors I-PEX is a global leader in micro coaxial cable solutions, specializing in high-performance IPEX micro coax connectors and micro coaxial cable assemblies. These products are designed for.
Feel free to reach out to us for any inquiries or orders