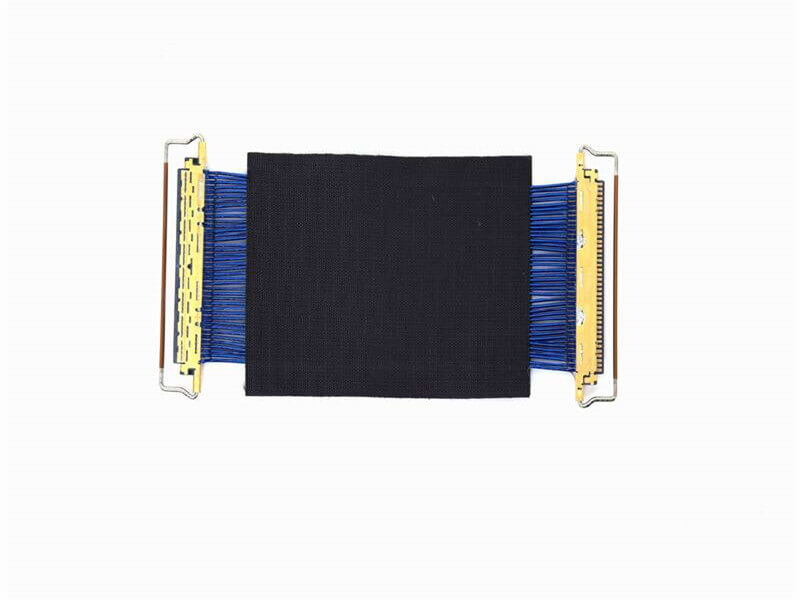
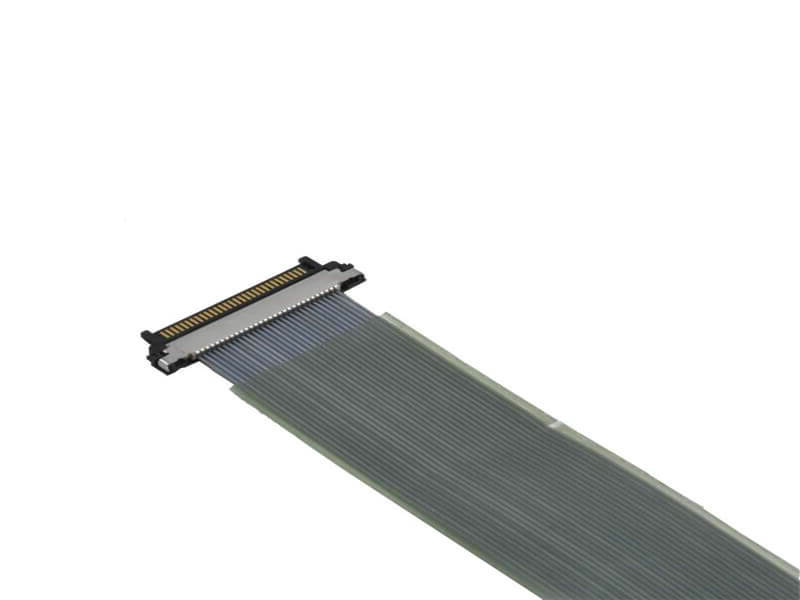
Micro coaxial cables are essential in high-frequency applications like telecommunications, medical imaging, aerospace systems, and broadcast equipment. However, long runs face challenges like signal degradation, electromagnetic interference (EMI), and mechanical wear. Implementing proper support strategies ensures reliability, longevity, and optimal performance. Here’s how to do it right:
1. Plan Your Cable Pathway
- Avoid Sharp Bends: Micro coax cables have strict bend radius limits (typically 4–8× the cable diameter). Use gradual curves to prevent kinking, which damages shielding and causes signal loss.
- Separate from Power Cables: Route micro coax away from AC power lines or motors to minimize EMI. Maintain at least 12 inches of separation.
- Use Cable Trays or Conduits: Support long spans with ladder trays, J-hooks, or flexible conduits to reduce sagging and physical stress. Secure cables every 18–24 inches.
2. Choose the Right Hardware
- Strain Relief: Install booted connectors or inline strain relievers at termination points to prevent tugging on solder joints.
- Support Clamps: Use cushioned, non-metallic clamps (e.g., nylon) to hold cables without compressing shielding. Avoid metal clamps that risk EMI coupling.
- Cable Management Accessories: Employ velcro straps, wax-free tie wraps, or silicone self-amalgamating tape for bundling. Never over-tighten.
3. Shield Against Interference
- Ground Properly: Terminate cable shields to a single-point ground at the receiver end to avoid ground loops. Use EMI gaskets for metal enclosures.
- Double-Shielded Cables: Opt for micro coax with foil + braid shielding (e.g., RG178 or RG316) for long runs in noisy environments.
- Ferrite Cores: Add clip-on ferrite beads near connectors to suppress high-frequency noise.
4. Mitigate Signal Loss
- Amplify Signals: For runs exceeding 50–100 feet, use inline amplifiers or repeaters to compensate for attenuation.
- Low-Loss Cables: Select cables with lower attenuation specs (e.g., phase-stable coaxial variants) for critical applications.
- Quality Connectors: Use gold-plated crimp or SMA connectors for minimal insertion loss. Seal with heat-shrink tubing outdoors.
5. Protect Against Environmental Stress
- Waterproofing: In outdoor/humid settings, apply silicone sealant to connectors and use UV-resistant conduit. Create drip loops below entry points.
- Temperature Management: Avoid direct sunlight or heat sources. Micro coax with PTFE insulation handles -65°C to 200°C.
- Vibration Resistance: In industrial settings, secure cables with anti-vibration mounts or braided sleeves.
6. Test and Maintain
- Pre-Installation Checks: Verify impedance (typically 50Ω/75Ω) and continuity with a multimeter or TDR (Time-Domain Reflectometer).
- Post-Installation Tests: Use a VNA (Vector Network Analyzer) to measure insertion loss and return loss at operating frequencies.
- Routine Inspections: Check every 6–12 months for connector corrosion, insulation cracks, or rodent damage. Label cables for easy tracing.
Final Tips
- Documentation: Map cable routes, lengths, and test results for troubleshooting.
- Compliance: Adhere to standards like IEC 61196 (coaxial cables) and NEC/ETSI for safety.
- Proactive Upgrades: Replace cables showing >3 dB loss or physical wear before failure.
By following these guidelines, engineers can ensure micro coaxial cables deliver consistent, high-fidelity signals over extended distances. Always prioritize precision in installation and proactive maintenance—your system’s performance depends on it.