Micro Coaxial Cable factory-(FRS)

How to check for signal leakage in Coaxial Cable Assemblies - Micro Coaxial Cable factory-(FRS)

Micro Coaxial Cable-Micro Coaxial Cable factory-(FRS)-FRS


INFO

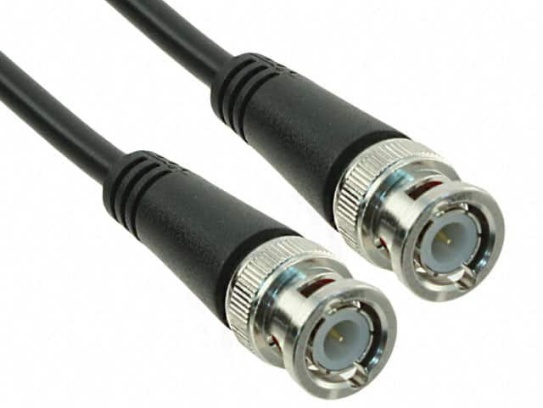
Coaxial cable assemblies are critical components in numerous applications, from telecommunications and broadcast systems to aerospace and medical equipment. Signal leakage in these assemblies can lead to significant issues, including degraded signal quality, interference with nearby electronics, and even compliance violations in regulated industries. Detecting signal leakage promptly and accurately is essential to maintain system performance and reliability. This article provides a comprehensive, step-by-step guide to checking for signal leakage in coaxial cable assemblies, equipping you with practical methods and insights to address this common challenge.

1. Pre-Check Preparation: Gather Tools and Inspect Basics

Before initiating formal leakage testing, proper preparation lays the groundwork for accurate results. Start by assembling the necessary tools, which typically include:

  • Signal Generator: Used to inject a test signal into the coaxial cable assembly at a specific frequency and amplitude, matching the operational range of the assembly.
  • Spectrum Analyzer or Leakage Detector: A spectrum analyzer can detect and measure the strength of leaked signals across a frequency band, while dedicated leakage detectors offer portability and ease of use for on-site testing.
  • Terminators: 50Ω or 75Ω terminators (matching the cable’s characteristic impedance) to terminate the cable ends during testing, preventing signal reflections that could skew results.
  • Inspection Tools: A magnifying glass, flashlight, and cable tester for preliminary visual and continuity checks.

Next, perform a basic visual and continuity inspection: Examine the cable jacket for cuts, abrasions, or bulges, as these can expose the inner shielding. Check connectors for signs of corrosion, bent pins, or loose fittings—common points of leakage. Use a cable tester to verify continuity between the center conductor and connector pins, ensuring no internal breaks exist.

2. Step-by-Step Leakage Detection Methods

2.1 Signal Injection and Detection Method

This is the most widely used method for detecting signal leakage, suitable for both lab and field testing. Follow these steps:

  1. Set Up the Test Signal: Connect the signal generator to one end of the coaxial cable assembly using a matching connector. Set the generator to output a test signal at a frequency within the assembly’s operational range (e.g., 1 GHz for most RF applications) and a known amplitude (e.g., 0 dBm).
  2. Terminate the Opposite End: Attach a properly matched terminator to the other end of the cable to absorb the signal and prevent reflections.
  3. Scan for Leakage: Turn on the spectrum analyzer or leakage detector and set its frequency to match the test signal. Hold the detector’s antenna close to the cable assembly, moving it slowly along the entire length—paying special attention to connectors, splices, and areas with jacket damage. A leaked signal will appear as a peak on the analyzer’s display; note the amplitude of the peak.
  4. Interpret Results: Industry standards (e.g., FCC guidelines for broadcast systems) specify maximum allowable leakage levels (typically -60 dBm to -80 dBm for most applications). If the detected signal exceeds this threshold, the assembly has a leakage issue.

2.2 Spectrum Analysis for Broadband Leakage

For assemblies used in broadband applications (e.g., cable TV), checking leakage across a wide frequency range is necessary. This method involves:

  • Configuring the spectrum analyzer to scan the entire operational frequency band of the cable (e.g., 5 MHz to 1 GHz for CATV systems).
  • Injecting a broadband signal (or using the assembly’s actual operational signal if applicable) into the cable.
  • Scanning the cable length to detect any unexpected signal peaks outside the normal transmission profile, which indicate leakage points.

2.3 Pressurization Test for Micro-Leakages

For critical applications where even tiny leakages (micro-leakages) can cause failures (e.g., aerospace or underwater systems), a pressurization test is effective. Here’s how to conduct it:

  1. Seal one end of the coaxial cable assembly and connect the other end to a pressure source (e.g., nitrogen tank) with a pressure gauge.
  2. Pressurize the cable to a specified pressure (typically 5–10 psi, depending on the cable’s rating) and close the valve.
  3. Monitor the pressure gauge over a set period (e.g., 30 minutes to 2 hours). A drop in pressure indicates a micro-leakage, which may not be detectable by signal injection alone.

3. Post-Detection: Locate and Repair Leakage Points

Once leakage is detected, pinpoint the exact location using the following techniques:

  • Visual Inspection of High-Leakage Zones: Focus on areas where the detector showed the highest signal amplitude—often connectors, splices, or jacket damage.
  • Use a Directional Coupler: For long cables, a directional coupler can help isolate the leakage point by measuring signal strength at different segments of the cable.

Repair methods depend on the leakage source: Replace corroded or damaged connectors; patch small jacket cuts with coaxial cable repair tape; and for severe damage or micro-leakages, replace the entire cable assembly to ensure reliability.

4. Preventive Measures to Minimize Leakage

Preventing signal leakage is more efficient than repairing it. Implement these practices:

  • Use high-quality coaxial cables with robust shielding (e.g., double-braided or foil-and-braid shielding) and durable jackets.
  • Ensure proper connector installation—follow manufacturer guidelines for crimping or soldering to maintain a tight, secure fit.
  • Regularly inspect and maintain cable assemblies, especially those in harsh environments (extreme temperatures, moisture, or physical stress).

Choose FRS for Leakage-Resistant Coaxial Cable Assemblies

When it comes to minimizing signal leakage, the quality of coaxial cable assemblies is paramount. FRS brand factory specializes in manufacturing high-performance coaxial cable assemblies designed for low leakage and reliable signal transmission. Each assembly undergoes rigorous pre-production material testing and post-assembly leakage checks using advanced spectrum analysis and pressurization methods, ensuring compliance with industry standards and exceeding customer expectations. Whether for telecommunications, aerospace, or medical applications, FRS delivers durable, leakage-resistant solutions tailored to your specific needs. Trust FRS to keep your signals strong and your systems running smoothly.

FAQ

NEWS

More Products

Our factory offers high-quality products at competitive prices
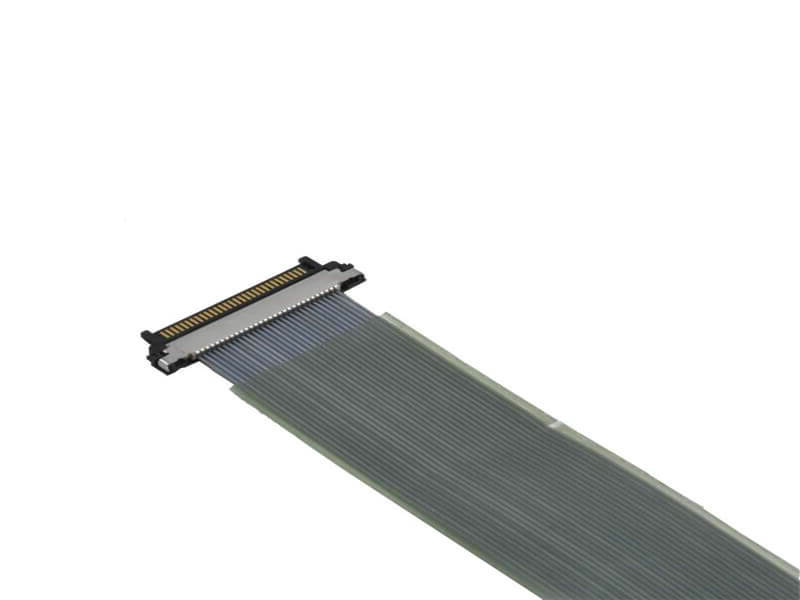
High-Speed Data Micro-Coax

High-Speed Data Micro-Coax

IntroductionIn today’s fast-paced digital world, reliable and high-speed data transmission is critical for industries ranging from telecommunications to aerospace. Enter ​High-Speed Data Micro-Coax—a cutting-edge miniature coaxial cable e.

Micro-Coax for HD Video

Micro-Coax for HD Video

OverviewMicro-Coax for HD Video is a cutting-edge coaxial cable engineered to deliver ​uncompromised high-definition video quality across professional and industrial applications. Designed for reliability, precision, and versatility,.

Contact Us

Feel free to reach out to us for any inquiries or orders.

Call Us

Have a question? Give us a call!

+861881875005

Email Us

Send us an email and we'll get back to you soon.

sales@custom-cable-assemblies.com
       
Home Products Contact