
Micro Coaxial Cable factory-(FRS)
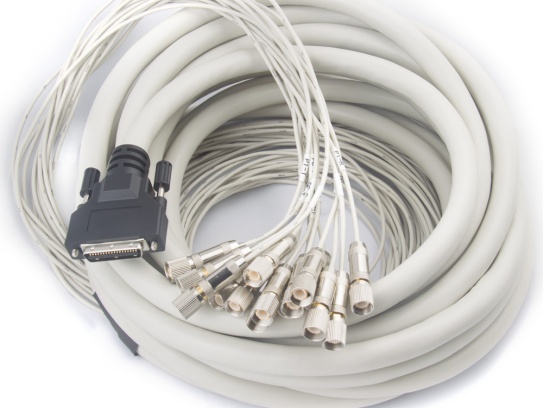
Micro-coaxial cables are essential for transmitting high-frequency signals in devices like routers, TVs, and medical equipment. When these cables get damaged, choosing the right repair method—soldering or compression connectors—can save time, money, and frustration. In this guide, we’ll break down the pros, cons, and best use cases for both techniques to help you make an informed decision.
Micro-coaxial cables have a central conductor, dielectric insulation, shielding, and an outer jacket. Damage often occurs at the connector due to bending, corrosion, or wear. Repairs typically involve reattaching or replacing the connector. Let’s explore the two most common solutions:
Soldering involves melting a metal alloy (solder) to create a permanent bond between the cable’s conductor and the connector.
Pros of Soldering:
Cons of Soldering:
Best For:
Compression connectors use a crimping tool to mechanically secure the connector to the cable.
Pros of Compression Connectors:
Cons of Compression Connectors:
Best For:
For Soldering:
For Compression Connectors:
Our factory offers high-quality products at competitive prices
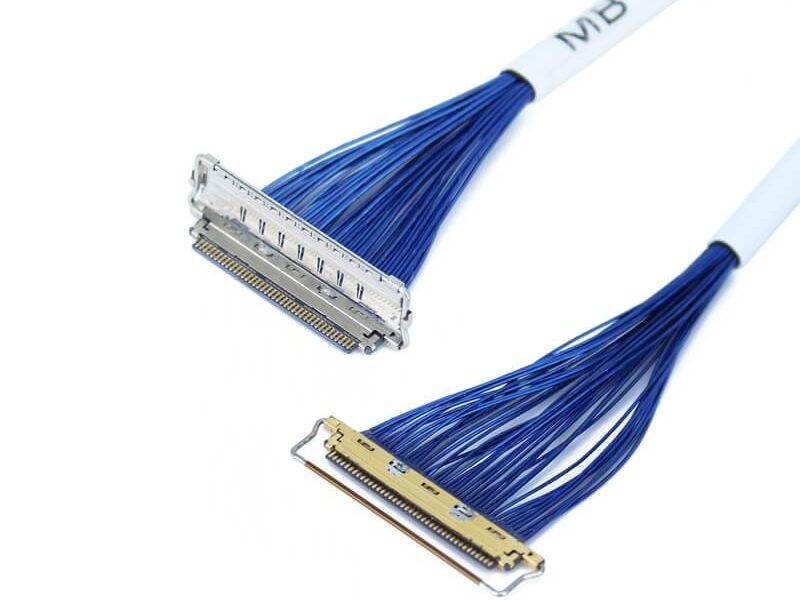
In LVDS (Low Voltage Differential Signaling) display systems, Micro-coaxial Cable (also referred to as Micro Coax Cable) stands out as an optimal solution for high-resolution, high-reliability signal transmission. Designed to meet the str.
Meta Description: Discover our premium Flexible Micro-Coaxial Assemblies—engineered for high-frequency signal integrity, durability, and versatility in aerospace, medical, telecom, and robotics applications. What Are Flexible .
Feel free to reach out to us for any inquiries or orders