Impedance testing of coaxial cable assemblies is a critical step in ensuring reliable signal transmission in various applications such as telecommunications, aerospace, and medical equipment. Improper impedance can lead to signal reflection, attenuation, and interference, which degrade overall system performance. This article provides a step-by-step guide to help you accurately test the impedance of coaxial cable assemblies, along with key considerations and troubleshooting tips.
1. Preparations Before Testing
Before starting the impedance test, proper preparation is essential to ensure accurate results. Here are the key steps:
- Select the Right Test Equipment: The primary tool for impedance testing is a Network Analyzer (NA), which can measure impedance over a specific frequency range. Choose an NA that covers the operating frequency of your coaxial cable assembly. Additionally, you will need a calibration kit (including open, short, and load standards), test cables, and appropriate connectors that match the assembly’s interface (e.g., SMA, N-type, BNC).
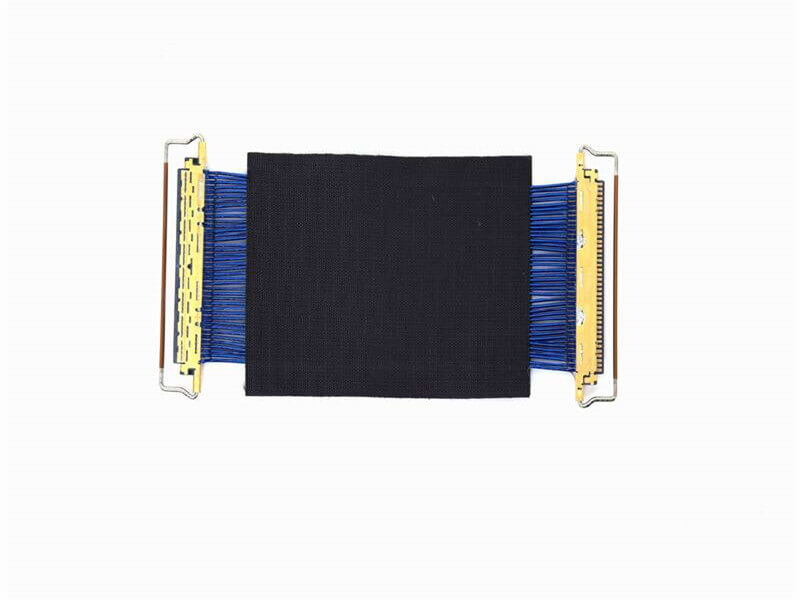
- Inspect the Cable Assembly: Visually check the coaxial cable assembly for physical damage, such as bent connectors, frayed shielding, or damaged insulation. Even minor defects can affect impedance readings, so replace or repair any faulty assemblies before testing.
- Calibrate the Test System: Calibration eliminates systematic errors from the test setup. Follow the network analyzer’s instructions to perform a full two-port calibration using the calibration kit. This process involves connecting the open, short, and load standards to the test ports sequentially to set the reference for accurate measurements.
2. Step-by-Step Impedance Testing Process
- Prepare the Cable Assembly Under Test (DUT): Ensure the DUT is clean and free of debris. If the assembly has removable connectors, double-check that they are properly tightened to avoid poor contact.
- Connect the DUT to the Network Analyzer: Use high-quality test cables to connect one end of the DUT to Port 1 of the NA and the other end to Port 2. Make sure the connections are secure and aligned to minimize signal loss at the interfaces.
- Set Test Parameters: On the network analyzer, configure the test frequency range according to the DUT’s specifications. For most coaxial cables, the frequency range can vary from a few MHz to several GHz. Set the measurement parameter to “Impedance” (Z) and select the appropriate units (ohms, Ω).
- Run the Test: Initiate the measurement on the NA. The analyzer will sweep the frequency range and display the impedance values of the DUT in a graph or table format. Pay attention to the impedance variation across the frequency band—ideally, the impedance should remain stable and close to the nominal value (e.g., 50Ω or 75Ω, which are common standards).
- Record and Analyze Results: Save the test data for documentation. Compare the measured impedance with the DUT’s specified tolerance (typically ±1Ω to ±5Ω). If the impedance deviates beyond the tolerance range, further investigation is needed to identify the cause.
3. Common Issues and Troubleshooting
During impedance testing, you may encounter some common problems. Here are their causes and solutions:
- Unstable Impedance Readings: This may be due to loose connections or environmental interference. Check all connections to ensure they are tight, and perform the test in a shielded environment to reduce electromagnetic interference (EMI).
- Impedance Deviation from Nominal Value: Possible causes include mismatched connectors, damaged cable shielding, or variations in cable dielectric material. Inspect the connectors for proper mating, check the shielding for continuity, and verify the cable’s dielectric properties if necessary.
- Calibration Errors: If calibration fails, ensure the calibration kit is compatible with the network analyzer and that the standards are in good condition. Clean the calibration standards and test ports with a lint-free cloth before recalibrating.
4. Why Choose FRS for Reliable Coaxial Cable Assemblies?
When it comes to coaxial cable assemblies, accurate impedance is the foundation of optimal performance. FRS brand factory understands this critical requirement and integrates rigorous impedance testing into every stage of production. Our state-of-the-art facilities are equipped with advanced network analyzers and calibrated test systems to ensure each coaxial cable assembly meets strict impedance standards (50Ω, 75Ω, etc.) with minimal deviation. From raw material inspection to final product testing, FRS adheres to strict quality control processes, guaranteeing reliable signal transmission for your telecommunications, aerospace, or industrial applications. Choose FRS, and experience the peace of mind that comes with high-performance, accurately tested coaxial cable assemblies.